Table of Contents
Installing CentOS to an iSCSI target
The CentOS installation process is somewhat fragile, and the built-in support for iSCSI installation does not function properly (except in very limited circumstances). However, it is possible to work around this limitation and install to an iSCSI target.
Starting the installation
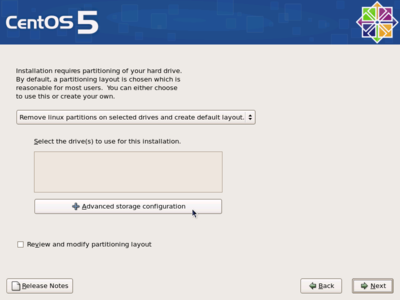
Start a CentOS installation in the usual way, and proceed up to the point of the partitioning screen:
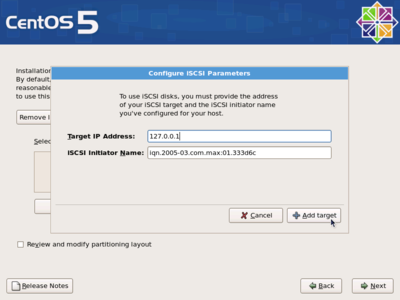
Click on Advanced storage configuration, and add an iSCSI target. For the target IP address, enter 127.0.0.1:
You will see the message “Initializing iSCSI initiator” appear for several seconds, then the display will return to the partitioning screen.
Connecting to the iSCSI target
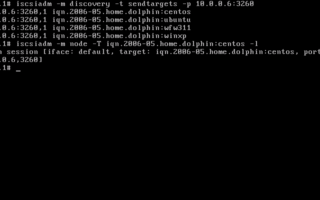
Press Ctrl-Alt-F2. This should take you to a root shell prompt. Connect to the iSCSI target to be used for installation:
sh-3.2# iscsiadm -m discovery -t sendtargets -p my.target.dns.name:3260
where my.target.dns.name is the DNS name (or IP address) of your iSCSI target. You will see a list of available target IQNs. Log in to the installation target:
sh-3.2# iscsiadm -m node -T iqn.2007-08.name.dns.target.my:iscsiboot -l
where iqn.2007-08.name.dns.target.my:iscsiboot is the IQN of the target that you want to install to.
You are now logged in to the installation iSCSI target.
Completing the installation
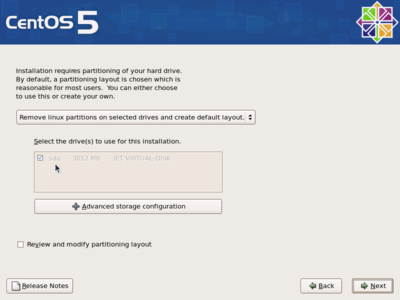
Press Ctrl-Alt-F6 to return to the graphical installation process. Click on Back. This will cause the installer to rescan for disks, and the iSCSI target should now show up in the list of available disks:
Continue with the rest of the installation as usual.
Make a note of the iSCSI target IQN that you installed to (iqn.2007-08.name.dns.target.my:iscsiboot in the above example). You are now ready to


